

Maker's Mark Identification: A Collector's Guide
A maker’s mark is a stamped, engraved, incised, acid-etched, or painted identifier that names the manufacturer, workshop, or artist responsible for a piece. Your immediate next step: photograph the mark under raking light, locate it on a reference database or auction record, and treat any visual match as a research lead rather than a confirmed attribution. Resources like the International Society of Appraisers (ISA), auction catalogs on Gavelist, and Thegildedcup’s authentication checklist are solid starting points.
Table of Contents
- What counts as a maker’s mark on glassware and where to find it
- How to read the parts of a mark: letters, symbols, and border shapes
- Step-by-step identification checklist
- How to verify a suspected mark and when to get a professional appraisal
- Red flags and common forgeries in glassware maker’s marks
- How to preserve, photograph, and document a marked piece
- Key Takeaways
- The detail most collectors overlook
- Authoritative databases, registries, and professional contacts
What counts as a maker’s mark on glassware and where to find it
On drinkware and fine glass, maker’s marks take several distinct forms. Knowing which type you are looking at shapes every step that follows.
- Stamped or impressed marks: A steel punch pressed into soft glass or clay before firing, leaving a crisp, recessed impression. Common on early American pressed glass and some European art glass.
- Acid-etched marks: A frosted or matte logo applied with acid, typical of lead crystal from makers like Waterford or Baccarat.
- Painted or enamel marks: Fired-on backstamps, often in cobalt or gold, used on porcelain and some decorative glass.
- Pontil scar signatures: The rough or polished scar left where the glassblower’s rod was detached. Its shape and finish can indicate period and workshop.
- Paper labels: Adhesive labels added after production, common on mid-century Scandinavian glass. Fragile and often missing.
Marks matter because they establish provenance and maker attribution, which directly affects value and authenticity. A confirmed Steuben or Lalique mark can shift an appraisal by thousands of dollars.
Where to look on drinkware:
- Base or foot ring (most common location)
- Underside of the base near the rim
- Interior of a handle
- Pontil area at the center of the base
- Lip or rim (less common, usually painted)
For hand-etched glass, the mark is often integrated into the design itself, requiring magnification to separate it from decorative elements.
How to read the parts of a mark: letters, symbols, and border shapes
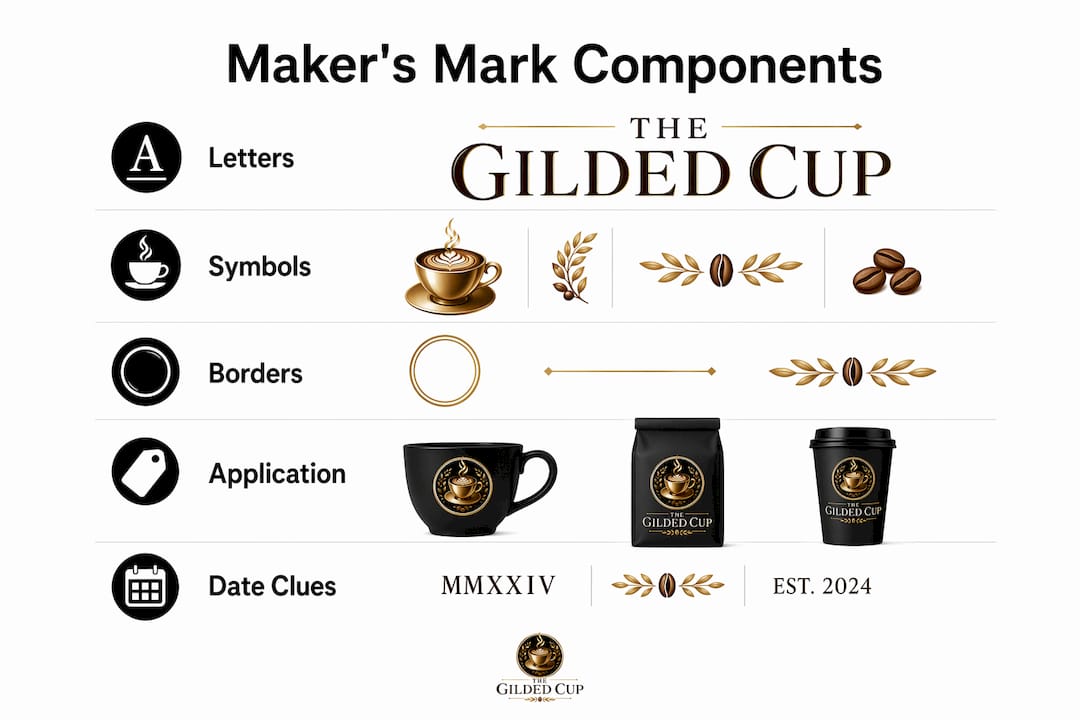
Parsing a mark is a skill. Each visual element carries information about origin, date range, or maker category.
Lettering and initials
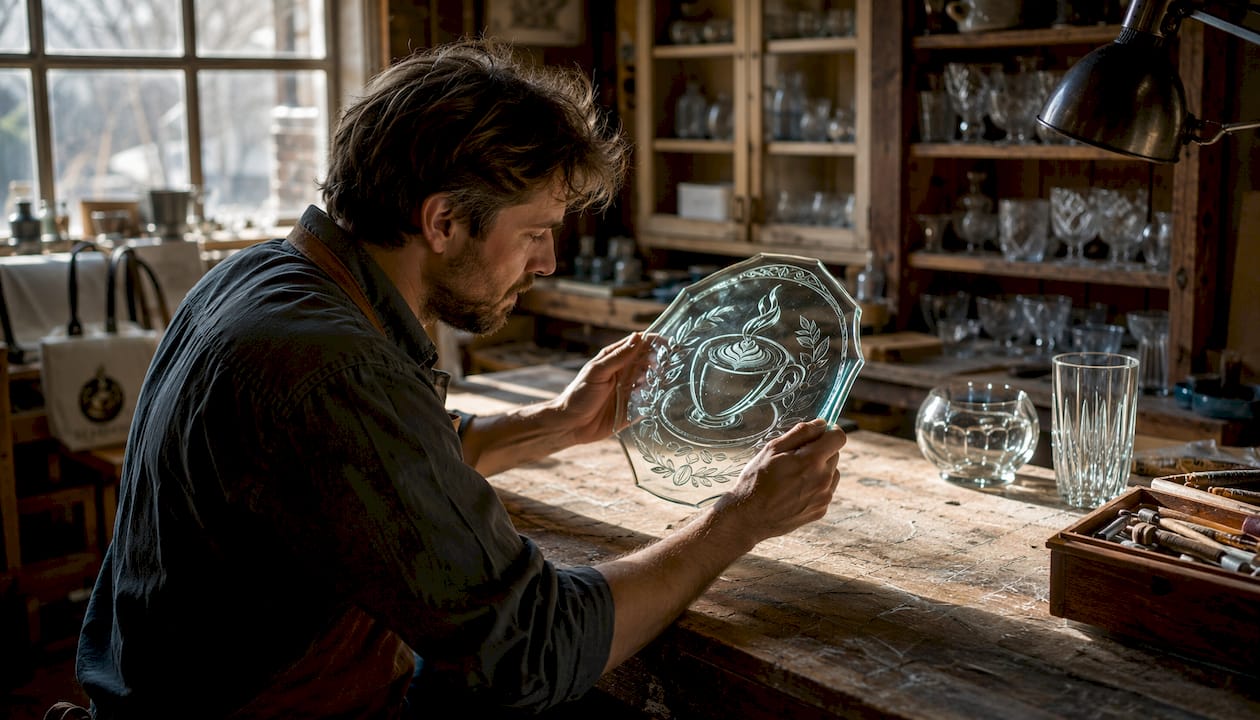
Single letters usually indicate a workshop initial or a quality grade. Monograms suggest a craftsman’s personal mark or a small studio. Full names, spelled out, are more common after industrialization and often indicate a registered trademark rather than a hand-applied signature.
Symbols and pictorial devices
Animals, tools, and regional emblems frequently appear in European marks. A Staffordshire knot points to English pottery. An eagle or anchor can indicate a specific city assay office. On American glass, pictorial devices were largely unregulated, so cross-referencing a symbol against a specialist registry is necessary before drawing conclusions.
Border shapes and what they tell you
Border shapes carry dating and regional clues that are often as informative as the letters inside. In regulated hallmarking systems used in the UK and France, a lozenge (diamond shape) was used for registered designs and carries a date code embedded in its corners. A cartouche (oval or rectangular frame) is common in French silver and ceramic marks. A shield shape appears frequently in German and Scandinavian systems. On American pieces, border shapes were voluntary and less standardized, so their absence or presence is less diagnostic.
Method and depth of application
An impressed mark struck cleanly into the body of a piece reads differently from a painted mark that sits on the surface. Depth and crispness matter: genuine antique stamps tend to have sharp edges and consistent depth. A mark that looks molded or slightly raised is a red flag worth investigating.
| Mark Element | What It Suggests |
|---|---|
| Single letter, no border | Workshop initial or quality grade; needs registry cross-check |
| Monogram in cartouche | Small studio or craftsman’s personal mark, often pre-1900 |
| Full name + country of origin | Post-1891 (McKinley Tariff Act required country labeling on US imports) |
| Lozenge border | Registered design, UK or France; date code often embedded |
| Shield border | German, Scandinavian, or Austrian origin likely |
| Acid-etched logo, no border | Modern crystal manufacturer; check against brand archives |
Pro Tip: Hold a flashlight or phone torch at a very low angle to the surface (raking light) while examining the base. Impressed or faint marks that are completely invisible under overhead light will cast a shadow and become readable. A 10x loupe or macro lens on your phone confirms what you see.
Step-by-step identification checklist
Follow these steps in order. Skipping ahead to database searches before documenting the mark properly is the most common mistake collectors make.
- Inspect carefully. Use raking light and a loupe or macro lens. Check the base, foot ring, pontil area, handle interior, and rim. Note whether the mark is impressed, painted, etched, or a label remnant.
- Document everything. Photograph the mark from multiple angles: straight-on, at 45 degrees, and under raking light. Include a ruler or coin for scale. Record the mark’s orientation (right-side up when the piece is upright, or inverted), dimensions, and any condition issues such as chips or wear near the mark.
- Compare against references. Search specialist databases, auction records, and registry images. Treat any visual match as a lead, not a confirmation. Cross-reference construction details like pontil scars, mold seams, and material composition before accepting an attribution.
- Check construction and provenance. Examine the pontil scar type (open, ground, polished), mold seam height, and glass color or clarity. These physical details should be consistent with the period and maker the mark suggests. Review any purchase records, exhibition history, or prior appraisal documents.
- Escalate when needed. Contact museum archives, a certified ISA appraiser, or an auction-house specialist when the piece has significant potential value or when database searches produce conflicting results. Send your raking-light photos, scale shots, and condition notes. Most specialists will tell you upfront whether your documentation is sufficient to proceed.
Photo checklist before you contact a specialist:
- Straight-on shot of the full mark (minimum 12 megapixels)
- Raking-light shot revealing depth and texture
- Wide shot of the full piece showing form and condition
- Close-up of any secondary marks, labels, or numbers
- Scale reference in at least one image
Pro Tip: Name your files systematically: PieceName_MarkDetail_RakingLight_2026.jpg. When you send a batch to an appraiser or auction house, clear file names save time and reduce the chance of images being mismatched to the wrong piece.
How to verify a suspected mark and when to get a professional appraisal
A database match is the beginning of verification, not the end. The hierarchy runs: database match, then comparative construction evidence, then provenance documentation, then third-party appraisal.
Verification steps:
- Confirm the mark’s physical characteristics match authenticated examples (depth, font style, border shape).
- Check that construction details (pontil type, mold seam, glass formula) are consistent with the attributed maker and period.
- Search auction records for comparable pieces with the same mark. Auction catalogs from Christie’s, Sotheby’s, and Rago Arts provide photographic comparables and realized prices.
- If the piece has significant value, commission a written appraisal from a certified appraiser (ISA or American Society of Appraisers credentials are the standard in the US).
What appraisals typically involve:
- Turnaround: most written appraisals for a single glassware piece take 1–3 weeks.
- Cost: fees vary widely based on the appraiser’s credentials, the piece’s complexity, and the appraisal’s purpose (insurance vs. fair market value). Expect to discuss fees upfront; many appraisers charge hourly rather than as a percentage of value.
- Documentation to supply: your photographs, any provenance records, prior appraisals, and a brief condition description.
| Verification Resource | What It Provides | Typical Turnaround |
|---|---|---|
| Specialist mark database | Visual match and basic attribution | Immediate to a few days |
| Auction-house archive search | Comparable sales and catalog photos | 1–2 weeks |
| Museum or archive consultation | Period documentation and expert opinion | Several weeks |
| Certified appraiser (ISA/ASA) | Written valuation for insurance or sale | 1–3 weeks |
Note that US marking practices are largely voluntary and trademark-based, unlike the regulated hallmarking systems of the UK or France. That means registry searches for American pieces often require more cross-referencing against trade catalogs and auction records than a single database lookup.
Red flags and common forgeries in glassware maker’s marks
Forgeries exist at every price point. Knowing what to look for protects you from paying a premium for a reproduction.
- Too-perfect placement: Genuine marks on hand-finished glass are rarely centered with machine precision. Slight asymmetry is normal; perfect centering on a supposedly hand-blown piece warrants scrutiny.
- Inconsistent patina: The area around an authentic mark should show the same age-related wear as the rest of the base. A mark that looks fresher than its surroundings may have been added later.
- Mismatched construction: A mark attributing a piece to a pre-1900 maker, combined with a machine-made mold seam that runs through the lip, is a contradiction. Construction and mark must be consistent.
- Recycled retail stamps: Some dealers add paper labels or stamps from well-known makers to unrelated pieces. Check whether the mark style matches the maker’s documented output for that period.
- Model numbers mistaken for maker’s marks: Alphanumeric codes on the base are often inventory numbers, patent numbers, or mold codes, not maker attributions. Location and context matter: a number inside a handle is rarely a maker’s mark.
- Absence of a mark is not proof of reproduction. Many high-quality antique pieces carry no mark at all. Evaluate construction, materials, and stylistic consistency with known period examples before drawing conclusions.
How to preserve, photograph, and document a marked piece
Marks are physically vulnerable. Abrasive cleaning, improper storage, and careless handling can erase or obscure them permanently.
- Handling: Support the piece from the base, not the stem or handle. Avoid placing marked bases directly on abrasive surfaces. Cotton gloves prevent skin oils from etching into glass over time.
- Cleaning near marks: Never use abrasive pads or harsh chemicals near an impressed or painted mark. A soft cloth dampened with distilled water is the safe default. For fragile painted marks, consult a conservator before cleaning.
- Storage: Wrap pieces individually in acid-free tissue. Store upright when possible; stacking puts pressure on marks and rims.
- Photography for your records: Shoot at the highest resolution your camera allows. Include a color reference card if you want accurate color documentation. Date-stamp your files and store them in at least two locations (local drive and cloud backup).
- Building a provenance file: Collect purchase receipts, prior appraisal reports, exhibition catalogs, and any auction records that reference the piece. A thin physical folder and a digital duplicate is the practical standard.
- Conservation reports: If the mark or the piece itself is fragile, a conservator’s condition report before any treatment creates a baseline record. This document becomes part of the provenance file and can support future authentication.
Pro Tip: Photograph the mark immediately when you acquire a piece, before any cleaning or handling. That first image is your baseline. If the mark changes condition over time, you have documented evidence of its original state.
Key Takeaways
Maker’s mark identification requires photographing the mark first, treating any database match as a lead, and verifying attribution through construction evidence, provenance, and expert appraisal before assigning value.
| Point | Details |
|---|---|
| Photograph before anything else | Capture raking-light and straight-on shots at acquisition; this is your baseline record. |
| Treat matches as leads | A visual database match starts verification; cross-check construction details and provenance before confirming attribution. |
| Border shapes carry dating clues | Lozenge, cartouche, and shield borders often indicate country of origin and time period, not just the maker. |
| Absence of a mark is not disqualifying | Evaluate construction, materials, and period stylistic consistency when no mark is present. |
| Escalate to a certified appraiser | For pieces with significant potential value, an ISA or ASA-credentialed appraiser provides the written documentation that archives and databases cannot. |
The detail most collectors overlook
The single most common mistake I see is treating a database match as a closed case. A collector finds a mark that looks exactly like a documented Steuben signature, gets excited, and stops there. The construction tells a different story: the mold seam runs through the lip, which is inconsistent with the hand-finishing Steuben used in the period the mark suggests. That contradiction is the whole point of secondary validation.
The other habit worth building is documenting pieces you are not buying. If you handle a piece at an auction preview and notice something unusual about the mark, photograph it and note the lot number. Over time, that informal archive becomes a reference library of real examples, including fakes, that no published database can replicate.
One more thing: the ceramics identification process and the glassware process share more steps than most collectors realize. The raking-light technique, the construction cross-check, the provenance file — all of it transfers. If you collect across both categories, the habits compound.
Authoritative databases, registries, and professional contacts
| Resource | What It Provides |
|---|---|
| International Society of Appraisers (ISA) | Directory of certified appraisers by specialty, including decorative arts and glass |
| American Society of Appraisers (ASA) | Credentialed appraisers; searchable by discipline and location |
| Antique Identifier Online | Hallmark and maker’s mark reference with placement and dating guidance |
| Gavelist auction catalog | Photographic auction records useful for comparable sales and mark images |
| Jewelry Appraisals App (jewelryappraisals.app) | Step-by-step mark documentation guidance and reference comparisons |
| Watch and Gather (watchandgather.com) | Practical identification guides covering stamps, punches, and engravings |
| DSF Antique Jewelry hallmarks blog | Explains regional registration differences, including US voluntary marking practices |
For Art Deco glassware specifically, period trade catalogs held by museum libraries, such as the Corning Museum of Glass research library, are often more useful than general mark databases. Contact the institution directly with your photographs and a brief description; many offer remote consultation services.
When contacting any specialist, send your raking-light photograph, a scale reference image, and a brief note on where the piece was acquired and any provenance documents you hold. That package gives a specialist everything needed to give you a useful first response.